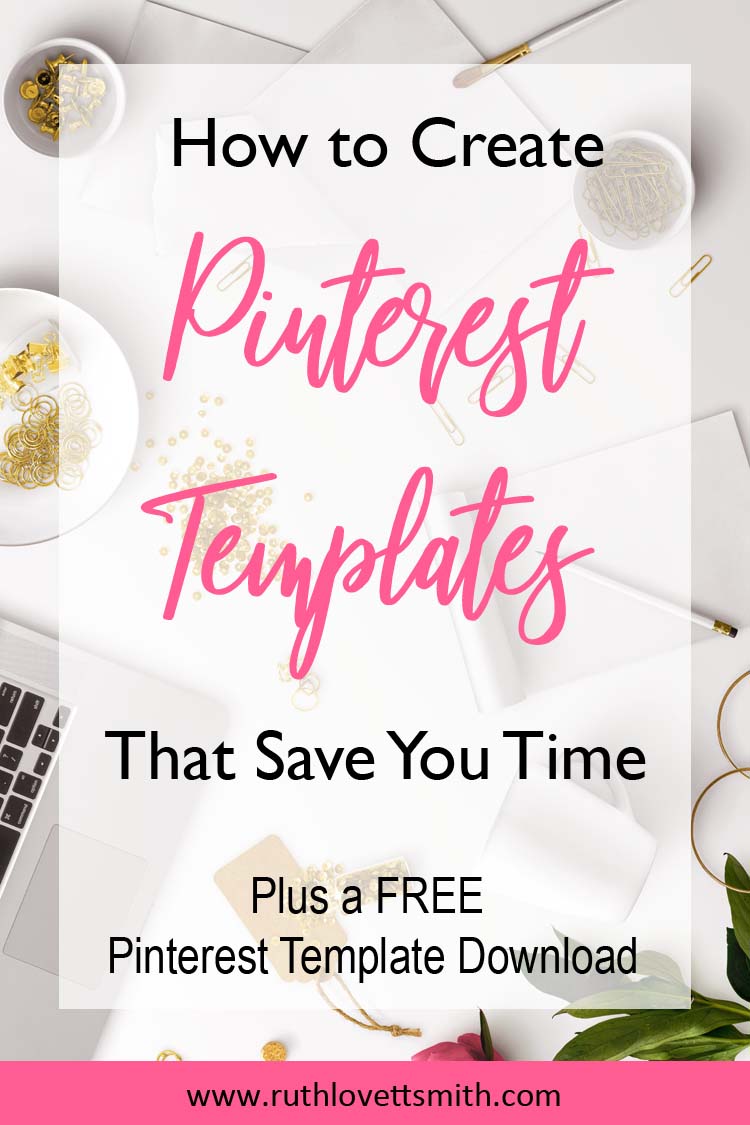
How to Create Pinterest Templates That Save You Time
This post may contain affiliate links. For more information, see my full disclosures here.

Pinterest templates are a great way to save time when creating images for Pinterest. If you are creating multiple Pinterest images per blog post, (and by the way, you should be) you know that creating these images can be time consuming.
Create a Pinterest template, and you can use it again and again.
So what are Pinterest templates, why are they necessary, and how do you create one? I’ll answer those questions below, AND give you a link to download a free Pinterest template.
What are Pinterest Templates?
A Pinterest template is a master file that holds all of the elements you need for your Pinterest image. It might include your main image or a placeholder for an image, any text you might want on your image, as well as your logo or website.
Why Create Pinterest Templates?
Each time you create an image for Pinterest, you start from scratch. A Pinterest template will save you time, as the template file will already exist. You simply make a copy of that file for your latest Pinterest image. Then you make changes to that new file.
Another great reason to create a Pinterest template is to make your Pinterest images cohesive. By using the same fonts, colors, and overall style; people will begin to associate your images with your site. This is known as branding.
To learn more about branding, see my post: How to Build a Successful Brand.
It’s important to note that you don’t want each and every Pinterest image to look exactly the same. Pinterest, and readers, might start to skip over your images. Make sure that you have a color palette that you can choose from, and a few fonts you like as well. Keep some elements the same, and mix others up a bit.
How do you Create a Pinterest Template?
You can create a template in most photo editing software. I personally use Photoshop. Therefore my template elements are saved as layers in a .psd file. I can turn each layer on or off, depending upon which elements I want to use. When I am finished creating my Pinterest image, I save the file as a .jpg and upload it into my blog post, or on Pinterest.
Consider the Following Elements in Your Pinterest Templates
- Header or multiple headers.
- Subheader or multiple subheadings.
- Logo and/or blog URL.
- Image layer for main image.
- Rectangular transparent box (a clean space to add text, goes over your image).
- Background Layer: white, off-white, or gray (in the event you are using image elements without a background color).
Qualities of a Good Pinterest Template
- Vertical image 2:3 proportion. (Pinterest states that 600×900 is optimal. My images are 750×1125.)
- Light images and overall feel vs dark images.
- Easy to read fonts/text.
- Bright colored fonts/text (reds, pinks, oranges seem to stand out and do well on Pinterest).
Creating Your Pinterest Template
- Open up your imaging software and create a new file using the image specifications above.
- Create a background image area.
- Build a transparent box area if you like. (This helps with reading the text on your image.)
- Create a header area using a fancy or script font.
- Make a subheader area with a more basic font like Arial.
- Build a logo area, or place to enter your website URL.
- Create any other areas you might want on your Pinterest images.
- Save your file “Pinterest Template Original”. (Or something like that.)
Now every time you want to create a new Pinterest image, open up your Pinterest template and save it as a new file.
Always work from a new saved file, or you risk making changes to your main Pinterest template by accident.
Free Pinterest Template
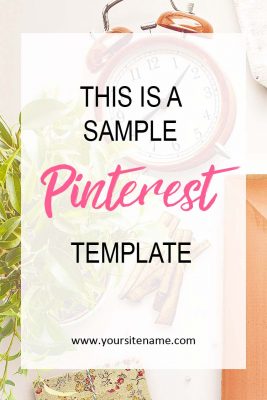
You can download the Pinterest template above, for free, by clicking on Free Pinterest Template Download.
It’s a .psd file, so you’ll need Photoshop, or another program, to use it.
There are also free programs that can open up .psd files as well.
Try Paint.net (with the Paint.net PSD Plugin) or GIMP.
I hope you’ve found this post helpful. If you did, please consider sharing it by using the social sharing buttons below.
And don’t forget to join our Happy Creating Facebook Group. It’s a fun place to ask questions, get support, and share your own content.


Hi Ruth. Thanks for the great post! I’m currently working on growing my blog traffic with Pinterest and it feels like creating pin covers takes me longer than it should. I will be able to speed up the process with these tips!